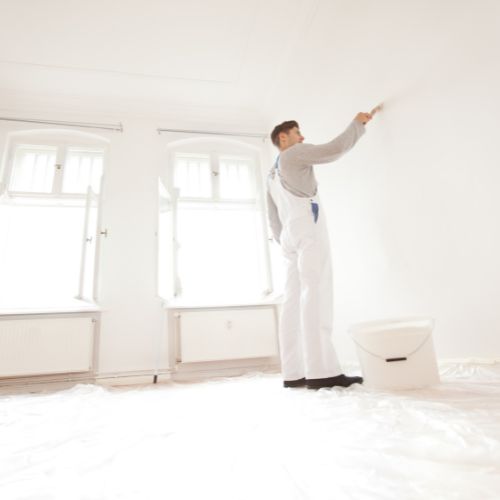
How to prepare walls for painting
by siteadmin

Preparing walls for paint is an essential step in achieving the best paint finish. You can end up with peeling paint or uneven walls, as well as cracks and holes showing through the paint.
You need to properly prepare your wall for painting, whether it's a newly plastered surface or one that has a few flaky plaster spots or remnants of old wallpaper.
Clean the Walls
Your walls should be clean before you can begin painting. This is crucial to ensure that your paint does not get damaged and your final product is beautiful.
You might be tempted to skip this step. However, if you really want to renovate your home, you'll need to do everything possible to make sure the walls are in great shape.
For walls painted with a mixture water and mild detergent, wash them down. This will take away a variety of dirt and debris.
But, it is important to know that you might need to use a stronger cleaning agent if your walls are very dirty.
White vinegar is great for cleaning dirty walls. If that doesn't work, try a mixture of dish soap and warmwater. A paste of baking soda with water can be used to get rid of stubborn stains.
Take out all the junk
All debris must be removed from walls to ensure paint looks its best. This includes dust, cobwebs and dirt.
If you have a small room, you can use a broom to sweep away any dirt and grime. To get in corners and other difficult-to-reach spots, you can attach a microfiber towel to the end your broom.
It is now time to clean them. This is typically done with water, soap and some detergent.
However, if your walls are really dirty you might have to create a cleaning product. TSP, or another cleaner, might be needed if the walls in your kitchen are covered with grease, or you have children's rooms that have crayon marks.
Fill Cracks and Holes
The last thing you want when painting walls is to cover any cracks or holes. These imperfections can be filled quickly and easily so that the final project looks flawless.
With a putty-knife, apply a tiny amount of joint compound into the crack. You can drag it down into your crack and push it in as you go. Take out any excess and tap the crack with mesh tape.
Apply spackling compound to ceilings. This will ensure that filler is evenly distributed throughout the area and prevents it from sinking back into the hole.
Sand the hole or crack to level it out before you paint. This will allow it to blend in with other walls and make your painted finish look better. Use a dust mask whenever you sand to prevent inhaling any particles.
Sand the Walls
Sanding the walls will give them a more consistent texture which is necessary for paint to adhere well. This step is important regardless of whether you have wall material or a previous paint finish.
The final result you want will determine what grit you use. Grit 220 is for rougher surfaces, while Grit320 smoothens out most surfaces.
Make sure that you thoroughly clean your walls before you start sanding. This will remove any dirt, hair, or grime they may have collected.
Sand the entire wall using a sanding board and 80-gritsandpaper. Work in circular motions to remove any large or uneven ridges.
The walls can now be primed once they have been sanded. Primer will reduce bleed-through, and help ensure that your paint sticks and stays smooth for a long period of time.
413 Turnberry Way, Souderton, PA 18964
Preparing walls for paint is an essential step in achieving the best paint finish. You can end up with peeling paint or uneven walls, as well as cracks and holes showing through the paint. You need to properly prepare your wall for painting, whether it's a newly plastered surface or one that has a few…
Recent Posts
- Sophisticated Exterior Painting Methods: Advice for a Perfect Coat
- Lou’s Painting Company Sets New Standard for “Above and Beyond” Painting Services
- Supreme Coats Painting and Epoxy: Redefining Home Painting in Lapeer, Oxford, and Lake Orion
- Exploring the Drawbacks of Duct Cleaning: Insights from Air Vent Cleaning Charlotte
- Overland Park KS Painters Provides Insight: Essential Questions to Ask Your House Painter
